Sof-Tray™ Classic Sheets

Sof-Tray™ Classic Sheets

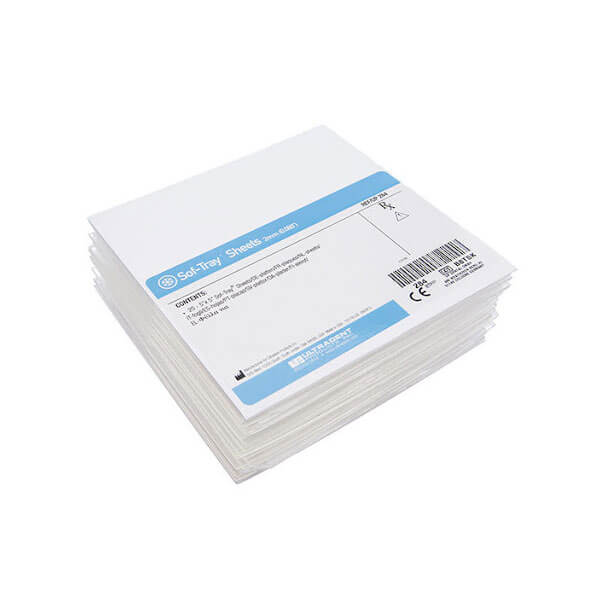
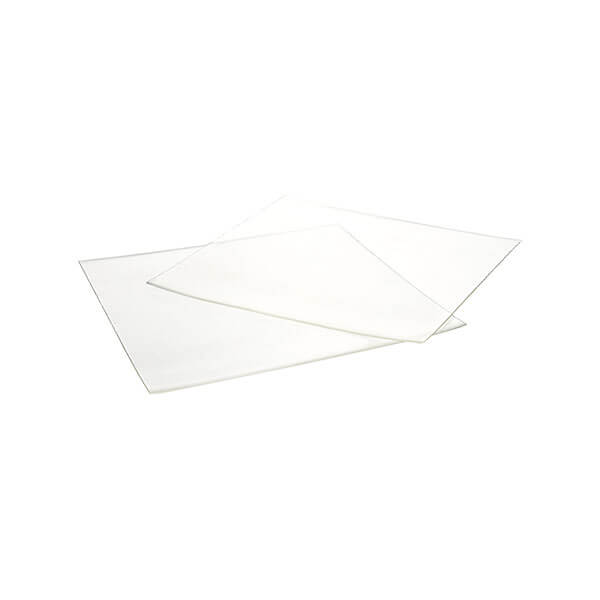
Sof-Tray Classic Sheets are specifically designed to create custom-made whitening trays for patients interested in take-home whitening treatments.

  • Available in Regular, Medium, and Heavy thicknesses
  • Select Regular (0.035″) for most whitening trays
  • Select Medium (0.060″) for bruxers’ whitening trays
  • Select Heavy (0.080″) for severe bruxers’ whitening trays

Contents

  • 25 x Tray sheets (0.9 mm – 127 x 127 mm)
  • 20 x Tray sheets (1.5 mm – 127 x 127 mm)
  • 20 x Tray sheets (2.0 mm – 127 x 127 mm)

Product Details


Sof-Tray Classic Sheets are specifically designed to create custom-made whitening trays for patients interested in take-home whitening treatments.

  • Available in Regular, Medium, and Heavy thicknesses
  • Select Regular (0.035″) for most whitening trays
  • Select Medium (0.060″) for bruxers’ whitening trays
  • Select Heavy (0.080″) for severe bruxers’ whitening trays

Indications for Use


​Sof-Tray Classic Sheets are indicated for use in bleaching tray fabrication with a vacuum former.

Clinicals
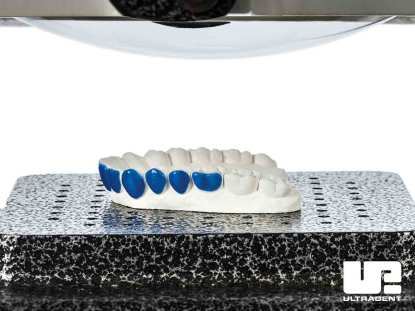

1_Sof-Tray-Classic-Sheet-and-UltraVac-Vacuum-Former_Clinical
Forming to the Mold

Technical Details


The Right Thickness for Any Patient
​Sof-Tray Classic Sheets come in two different thicknesses, so you can find the one just right for any patient. Most patients will require the Regular size, but if you have patients with TMJ issues or those who grind their teeth but still want to whiten overnight, you can use the Medium sheets or Heavy sheets.

Soft and Flexible
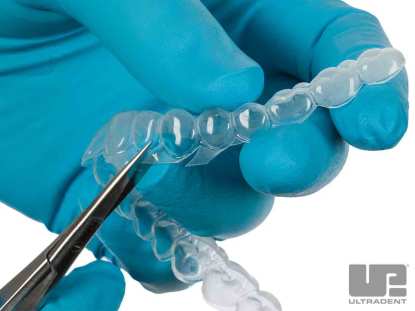
Sof-Tray Classic Sheets are soft and flexible, which means they’re easy to trim using the Ultradent Utility Vinyl Cutters and the Ultradent Ultra-Trim Scalloping Scissors. And they’re extremely comfortable for the patient!

Ideal for Use with the UltraVac™ Vacuum Former
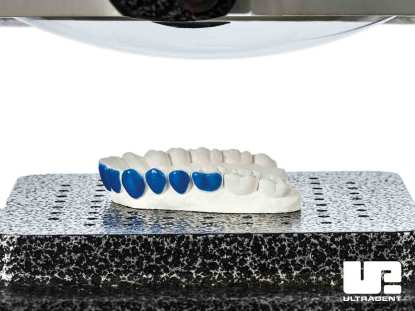
Sof-Tray Classic Sheets fit perfectly in the UltraVac Vacuum Former. The heating element of the UltraVac efficiently heats the Sof-Tray material to the ideal softness, and the vacuum element effectively forms the heated material precisely around the stone model.

How to Use

Tray Fabrication Step by Step

– See Instructions for Use for complete instructions, warnings, and precautions.

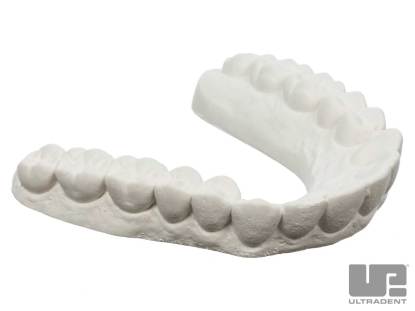
  1. Pour impression with fast-set plaster or dental stone. Pour alginate shortly after making impression to ensure accuracy. Trimming is less work if quantity of stone is kept to a minimum. Palate and tongue areas are not poured or should be removed after plaster has set. Allow model to dry two hours.
1_Tray-Fabrication-Step-by-Step-Ultradent
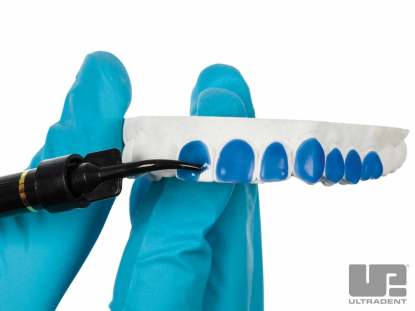
2. For reservoir spaces, apply Ultradent LC Block-Out resin approximately 0.5 mm thick onto labial surfaces and approximately 1.5 mm shy of the gingival margin. DO NOT extend onto incisal edges or occlusal surfaces. Using a VALO curing light, cure each tooth 5 seconds. Wipe off oxygen inhibition layer.

2_Tray-Fabrication-Step-by-Step-Ultradent


3. With a vacuum former, heat tray material (Sof-Tray Classic Sheets) until it sags approximately ¼” to ½” for the 0.035″ material and 1″ for the thicker material (0.060″ and 0.080″). Adapt plastic over model. Cool and remove model from the vacuum former. Cut excess bulk of material away with serrated plastic trimmers (e.g. Ultradent Utility Cutters).

3_Tray-Fabrication-Step-by-Step-Ultradent-updated

4. With small tactile scissors (e.g. Ultradent Ultra-Trim Scalloping Scissors), carefully and precisely trim the tray to the clear line which is at the gingival height. Scallop edges to avoid contact with gingival tissue.

4_Tray-Fabrication-Step-by-Step-Ultradent


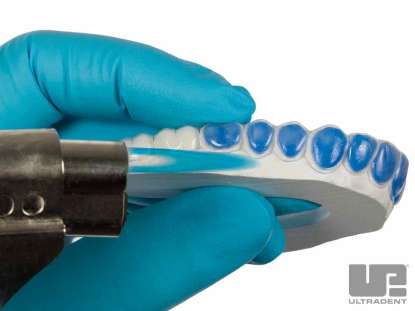
5. Return tray to model; check tray extensions. Gently flame polish the edges one quadrant at a time, if necessary, with a butane torch. While still warm, immediately hold periphery of each segment firmly against model for three seconds with water-moistened gloved finger. If this over-thins the tray material, fabricate a new tray.

5_Tray-Fabrication-Step-by-Step-Ultradent


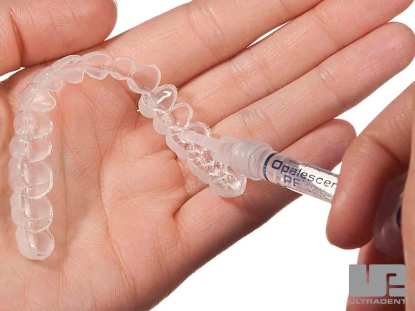
6. Review enclosed instructions with patient to brush teeth and explain the process of loading the tray by expressing one continuous bead of gel approximately halfway up from the incisal edge on the facial side of the tray from molar to molar. Explain that this should use about 1/2 to 1/3 of a syringe.

6_Tray-Fabrication-Step-by-Step-Ultradent


7. Place tray over teeth. Gently press tray to move gel into place. Pressing too firmly will force gel out of tray.

7_Tray-Fabrication-Step-by-Step-Ultradent-1


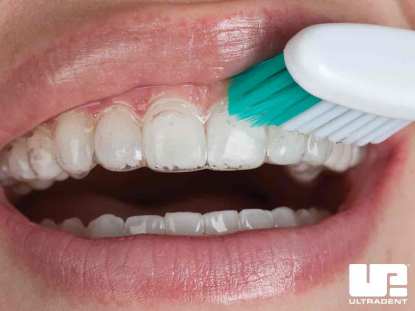
8. Remove excess gel with a soft toothbrush.

8_Tray-Fabrication-Step-by-Step-Ultradent


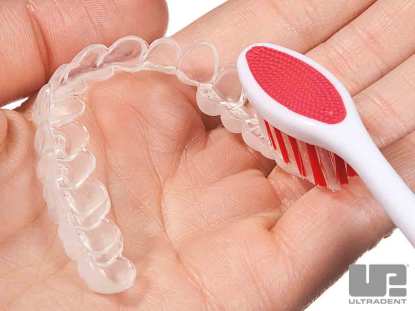
9. Clean tray with soft toothbrush and water. Remind patient to follow the whitening regimen you have established.Note: See Instructions for Use for complete instructions, warnings, and precautions.

9_Tray-Fabrication-Step-by-Step-Ultradent

สำหรับสินค้าโปรโมชัน ท่านสามารถติดต่อตัวแทนขายหรือเพิ่มเราเป็นเพื่อนใน LINE เพื่อสอบถามเพิ่มเติม

Scroll to Top

💥 For the promotion 💥

Please add our LINE below

💥สำหรับสินค้าโปรโมชั่น

กดเพิ่มเราเป็นเพื่อนใน LINE

คุณกำลังค้นหาอะไรอยู่?

พิมพ์คำค้นหาของคุณด้านขวา